
By Kathy Rose
A good portion of our Bread & Butter client list consists of some form of “designer” dogs. The Yorkie-Poo has been around for a long time, and is still gaining popularity.

As professionals, we learn to adapt and create designer trims for the designer mutts. For this segment we will do a simple and quick “puppy” trim that uses the same snap on comb all over but utilizes a “skim and scissor” technique for the legs. We finish this trim with a rounded headpiece, rounded ears, and a rounded tail.
Good coat preparation with quality shampoo and conditioner, and fluff drying is mandatory to insure a good outcome. Other prep work, such as pads, sanitary, ears, and nails are also completed prior to the start of styling.
Fig.1) Start just below the point of rump. Trim against coat growth direction, up over the rump and onto back. Do not trim the sides, just the back.
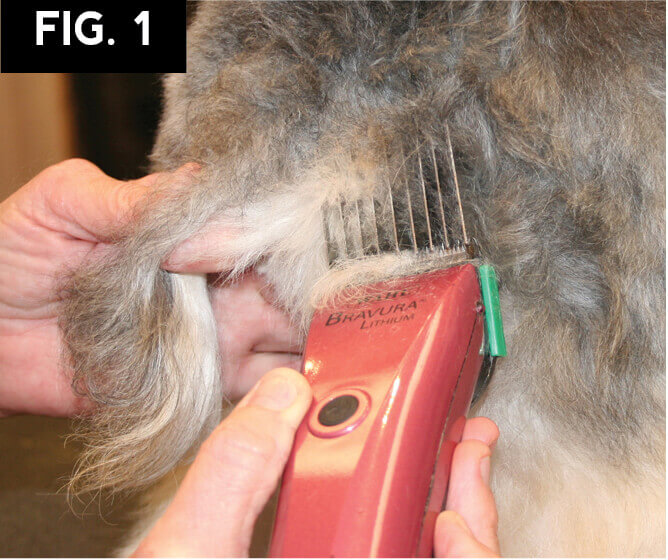
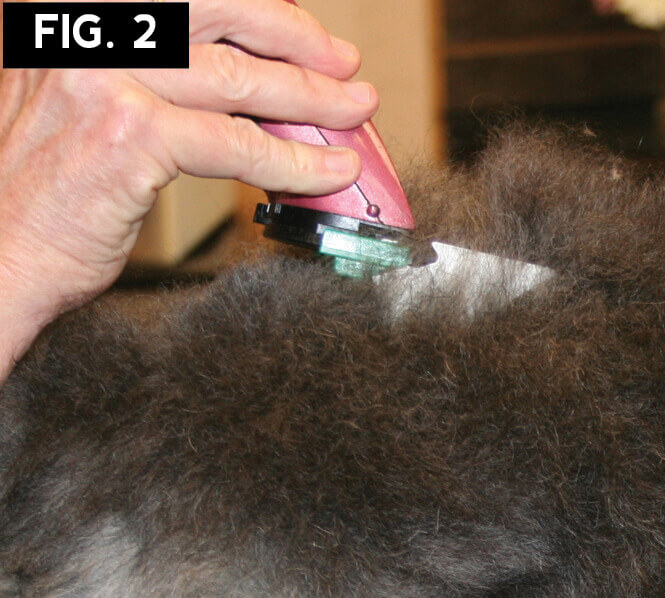
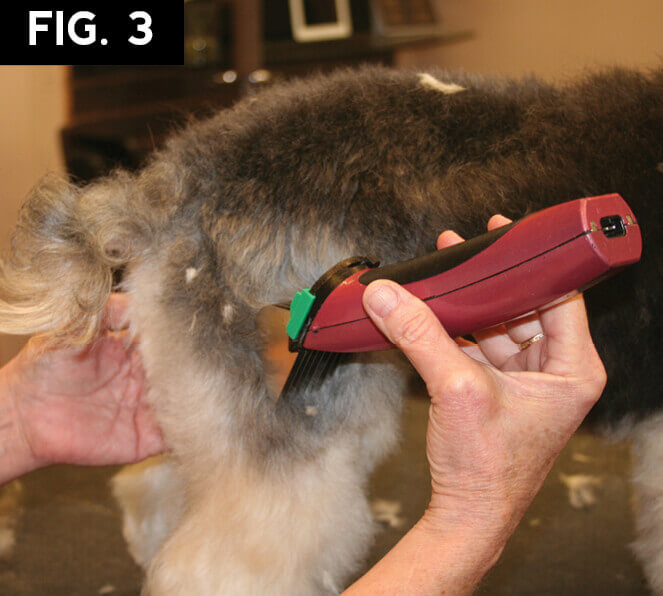
Fig.2) Continue onto the back, trimming forward toward the head. Stop before reaching the withers. If the dog has a large dip behind the withers, then stop further back. This will be blended later to make a smooth transition from the shorter back to the neck, building a crest. The goal is to create a level topline.
Fig.3) Following coat growth direction, trim down the shoulders, flanks, and over the hips. “Fall off” before trimming into the front and bottoms of the rear legs and tuck up area. This is a “skim” technique that will utilize scissoring and blending on the lower portion of the legs.
Fig.4) Lift the dog, supporting the hind legs. Trim the undercarriage against coat growth direction, starting in front of the tuck up area.
Fig.5) Lift the ear out of the way and then trim starting under the ear, down the neck and shoulder, following coat growth direction.
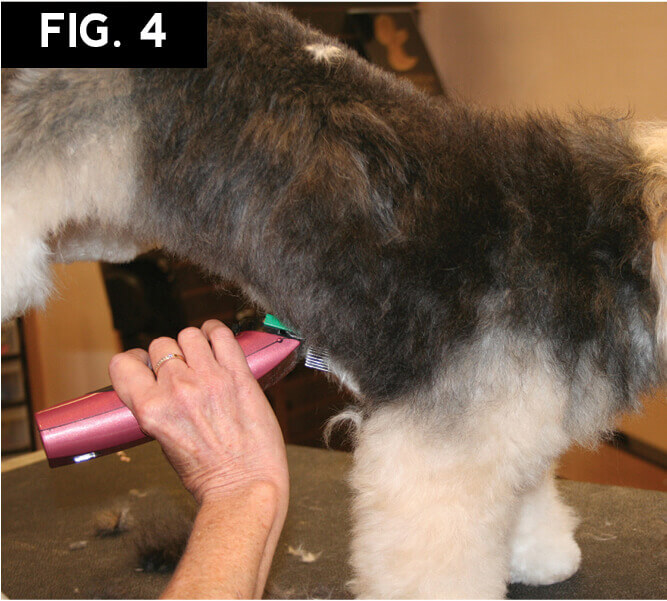
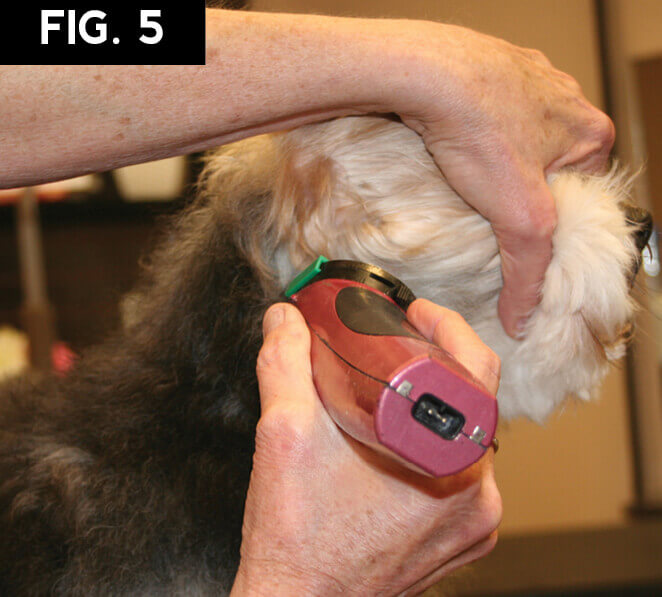
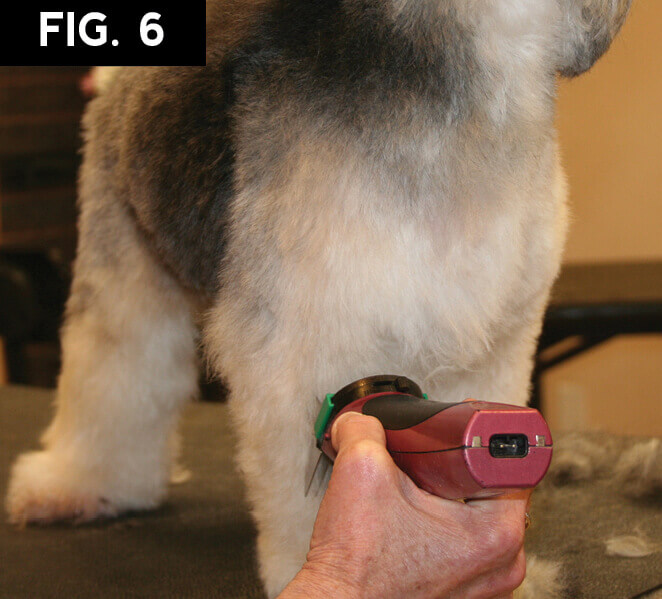
Fig.6) Trim down the fore chest, over the point of shoulder and between the front legs.
Fig.7) Lifting the ear, trim against coat growth direction on the throat up to the underjaw. This will help to accentuate the neck.

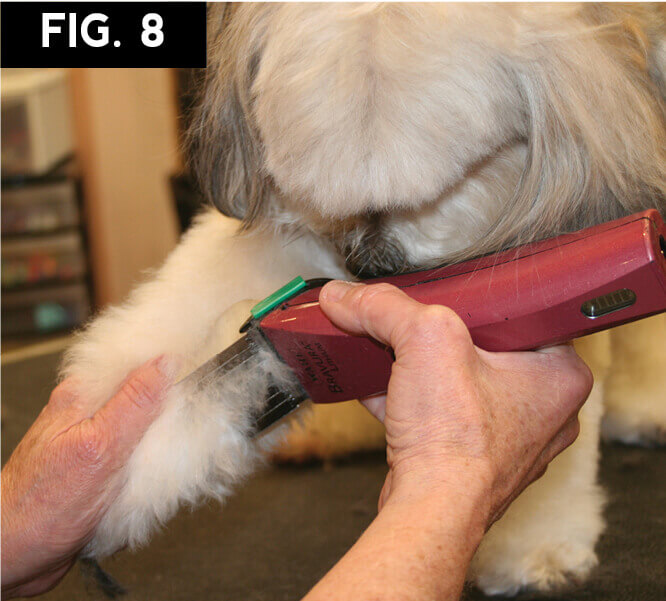
Fig.8) Trim only the front and sides of the forelegs, “falling off” before reaching the bottom portion of the leg.
Fig.9) Use chunkers to level out the topline and blend into the longer coat on the crest. And also to round the rib cage and tidy the undercarriage.
Fig.10) Blend the sides of the neck into the crest. It is important to sculpt the sides of the neck shorter. This will improve the over all shape of the neck and shoulders.
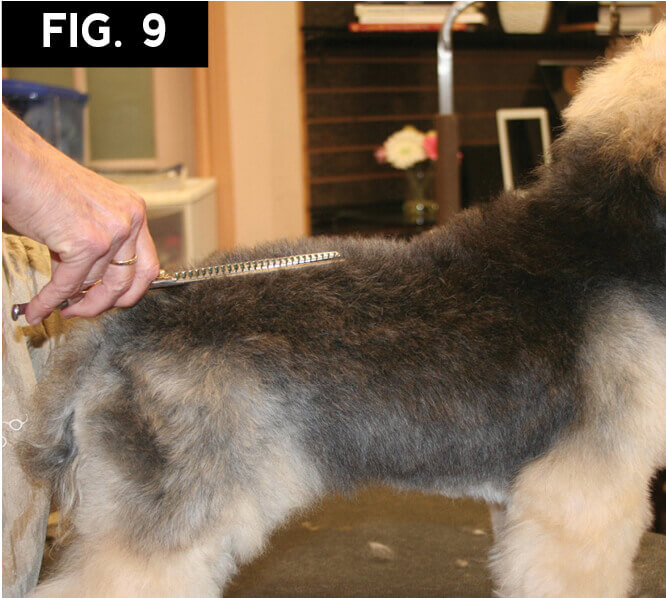
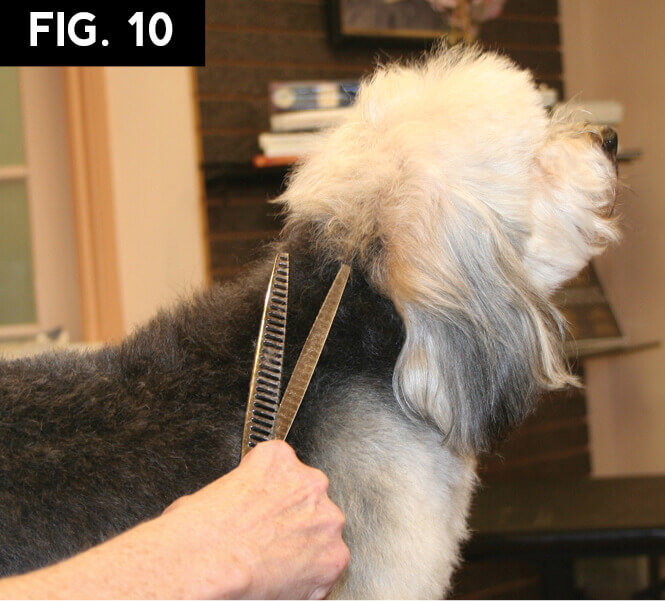
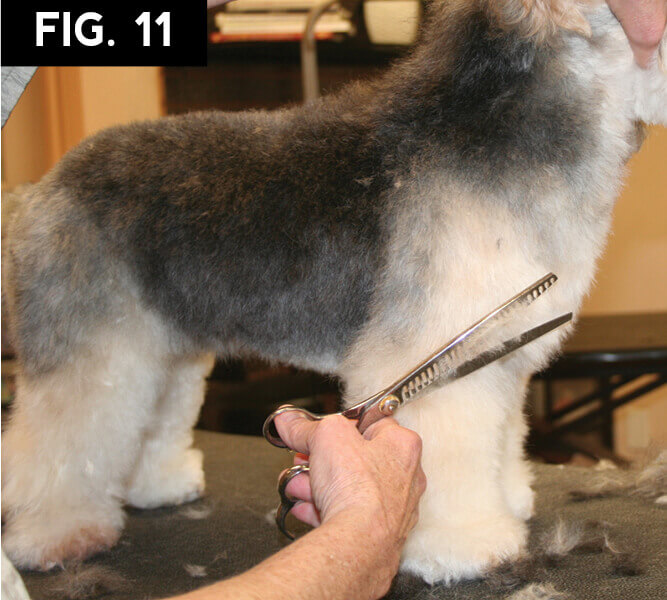
Fig.11) Shorten the coat just below the point of shoulder. This will place the dog’s legs under the dog and accentuate angulation.
Fig.12) Lift the rear leg and round the foot and blend up toward the hock.
Fig.13) Place the rear foot on the table and scissor around the foot, with your scissors angled outwards slightly.
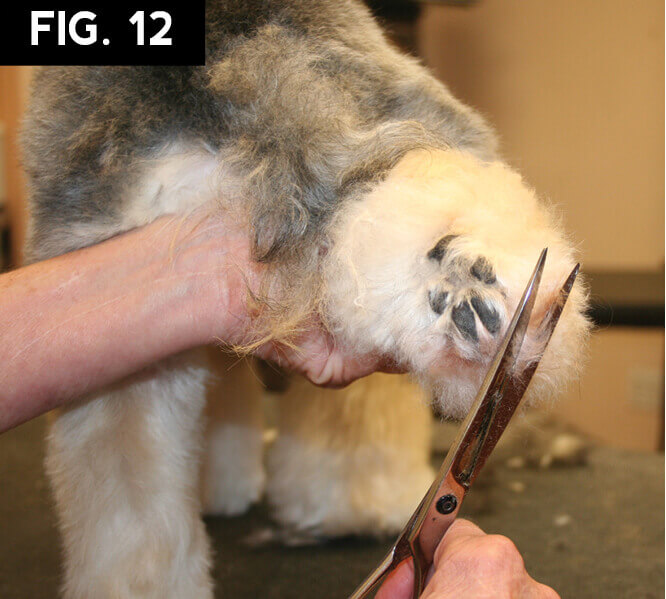
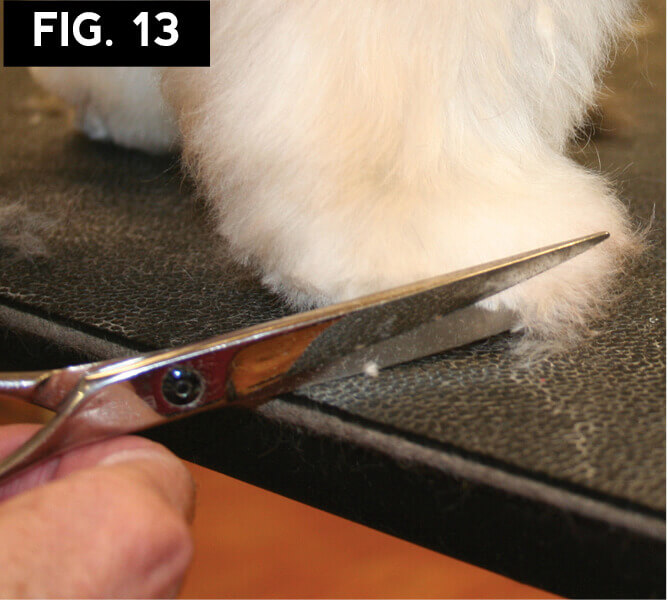
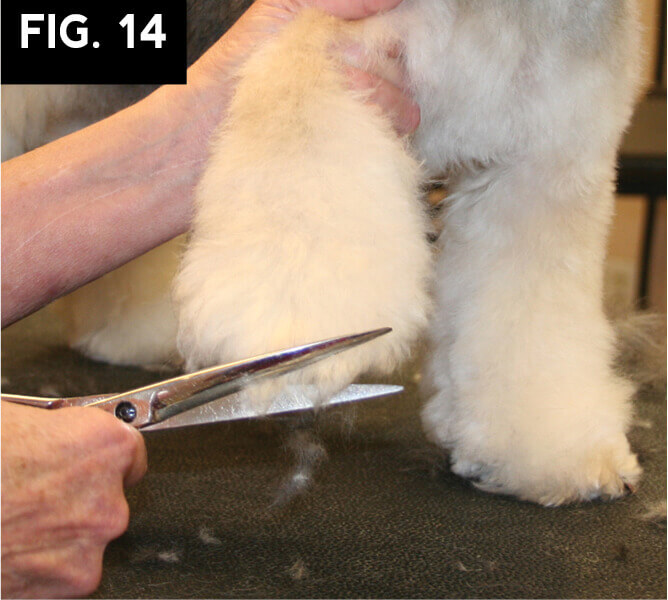
Fig.14) Lift the front foot and trim straight across the front. Place the front foot on the table and round the edges with the scissors angled slightly outward.
Fig.15) Use chunkers to blend the back, inside, and outside of the upper rear legs. Blend the longer hock coat to the shorter coat on the back of the rear thighs.
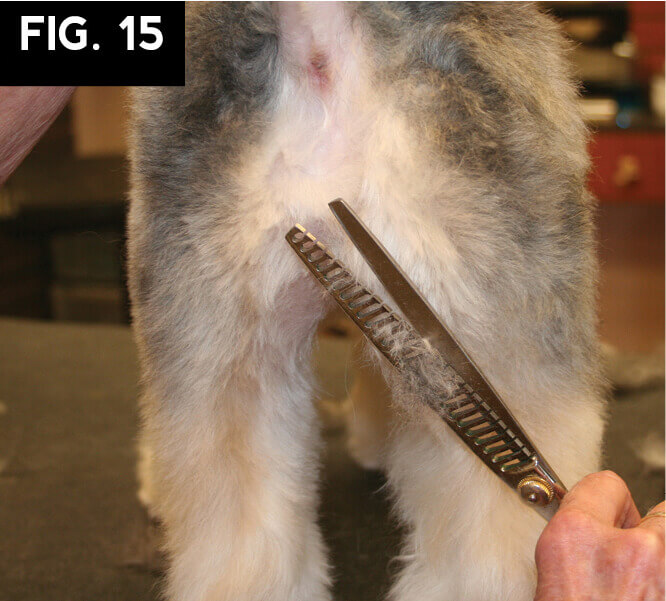
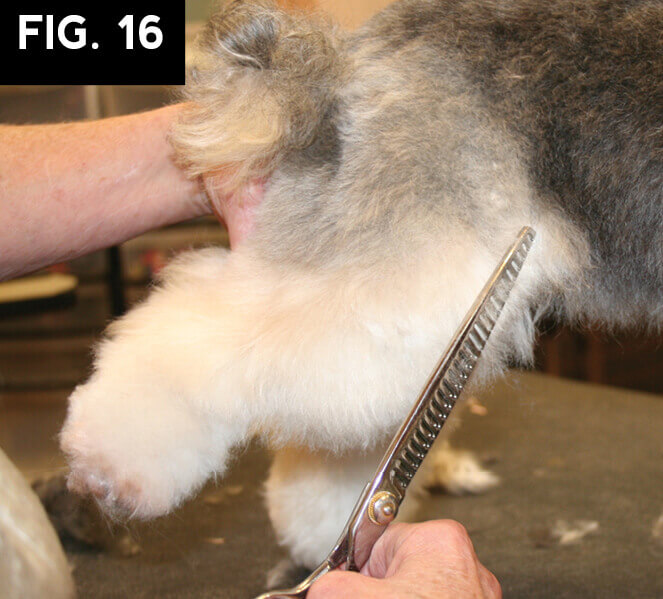
Fig.16) Lift the rear leg in a natural position. Trim up the front of the hock, then turn the scissors to accentuate the knee. Finish the front of the rear leg by turning the scissors again, just above the bend in stifle, up toward the tuck up. You can also use curved shears in this area, but chunkers are more forgiving and blend this soft leg coat efficiently.
Fig.17) Use curved shears or blenders to blend the upper portion of the rear leg into the tuck up and then the tuck up into the underline. Follow the natural underline of the dog through the front legs and up towards the chest.
Fig.18) Use chunkers to tidy the coat on the backs of the front legs.
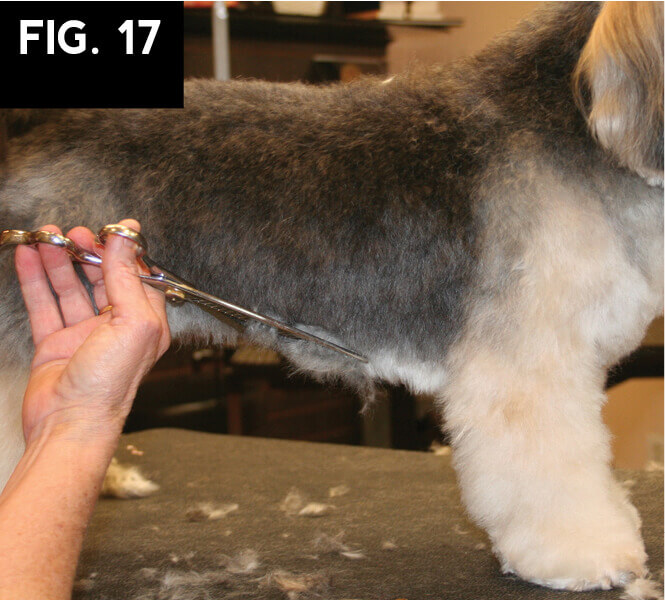
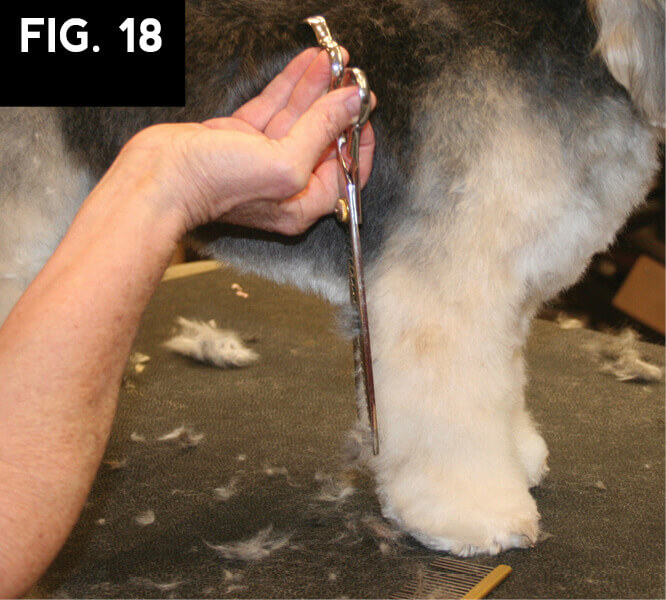
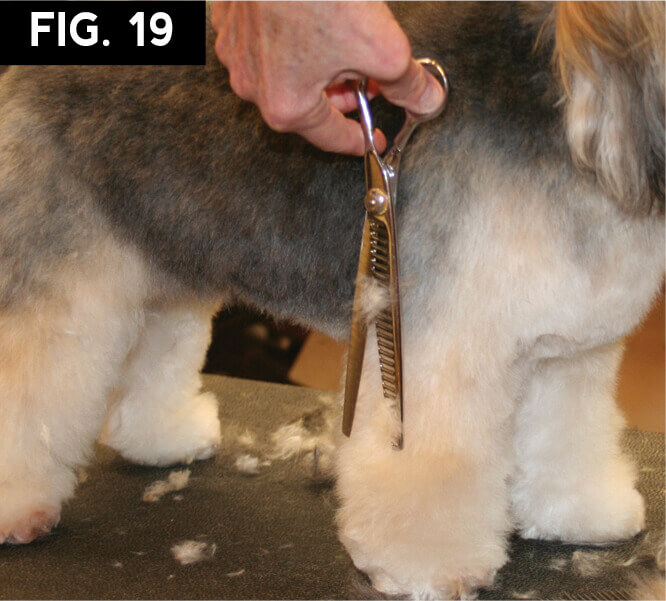
Fig.19) Tidy the outside of the front legs, trimming downward front the shoulder, creating parallel columns. Tidy the inside of the front legs. Remember that a snap on comb was already used on the upper inside, outside and front, so this is just neatening up the stray hairs.
Fig.20) Use blenders or scissors to trim across the fore face curving to the outside corner of the eyes.
Fig.21) Use a #15 or #30 to skim the eye corners.
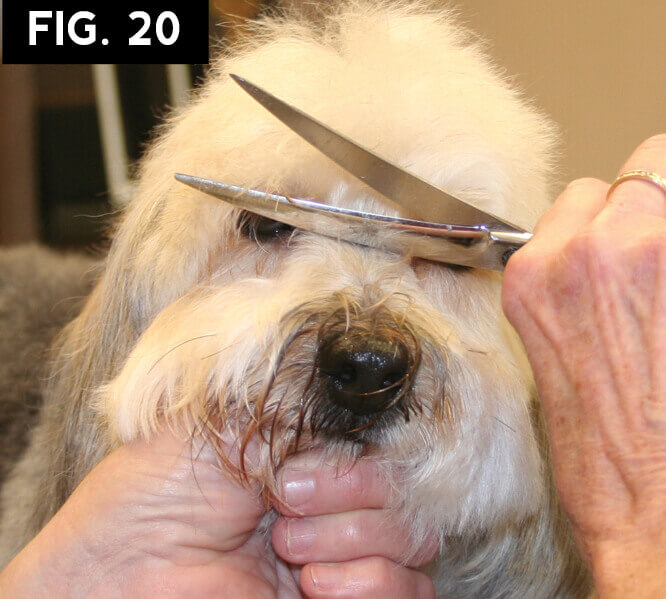
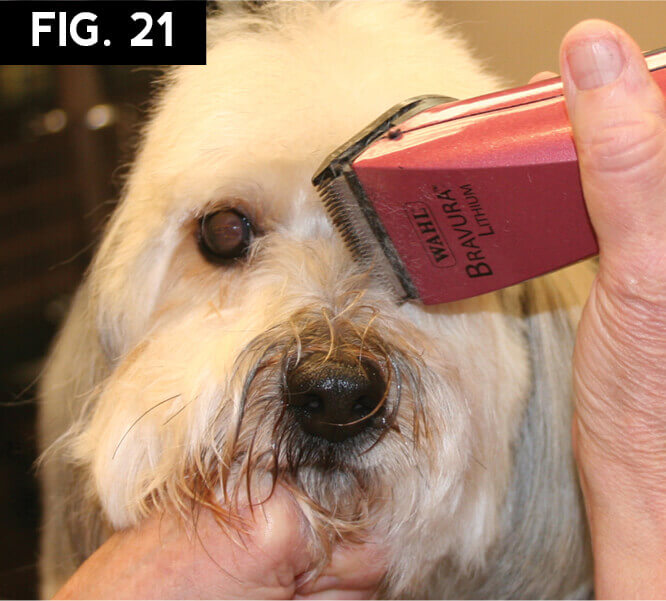
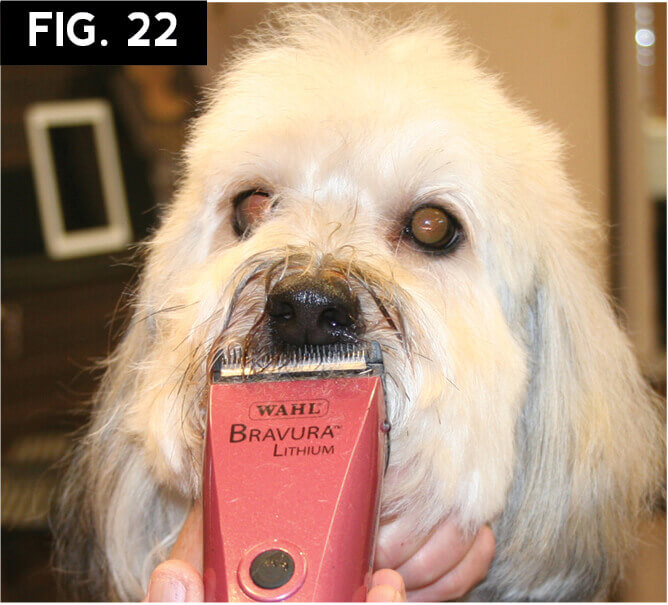
Fig.22) Shave the upper and lower lips just below the nose. Usually a #15 or #30 is a good choice.
Fig.23) Flip the ear flap out of the way and use a #10 blade to skim the hair in front of the ear, creating a ventilation strip.
Fig.24) Use long curved shears from the bottom of the ear (where it meets the skull), curving down and then upward toward the nose.
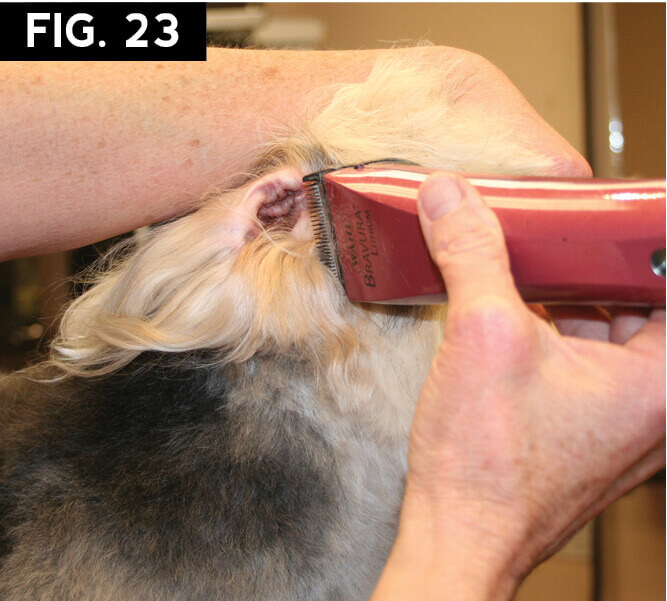
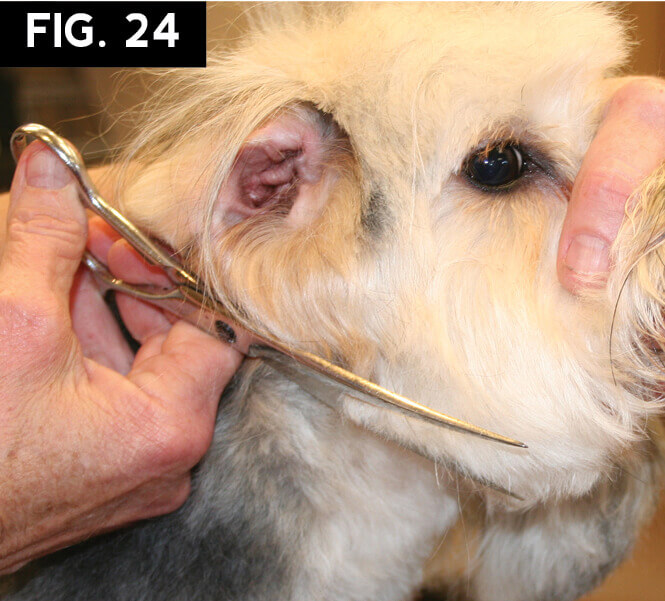
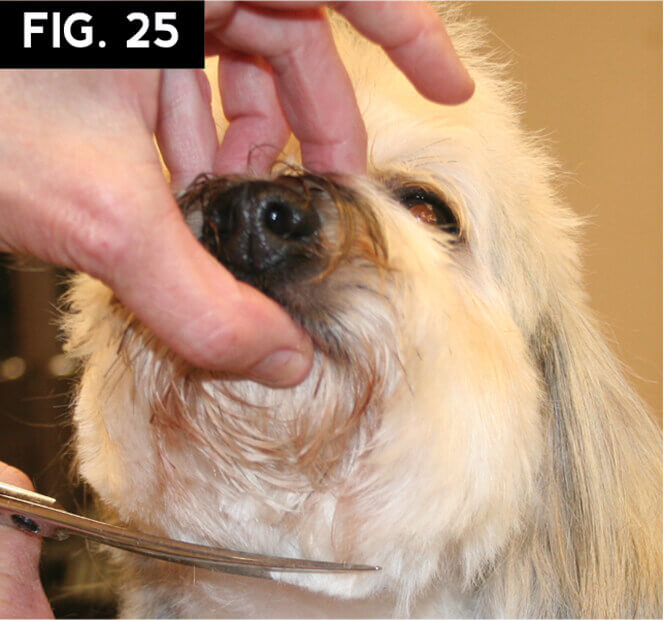
Fig.25) Comb the beard downward and trim across the bottom of the beard and then angle upward toward the ear, finishing the other side of the face.
Fig.26) Tidy the topknot and blend over the ears and onto the neck.
Fig.27) Comb the ears down and then use curved shears to trim the ear furnishings.
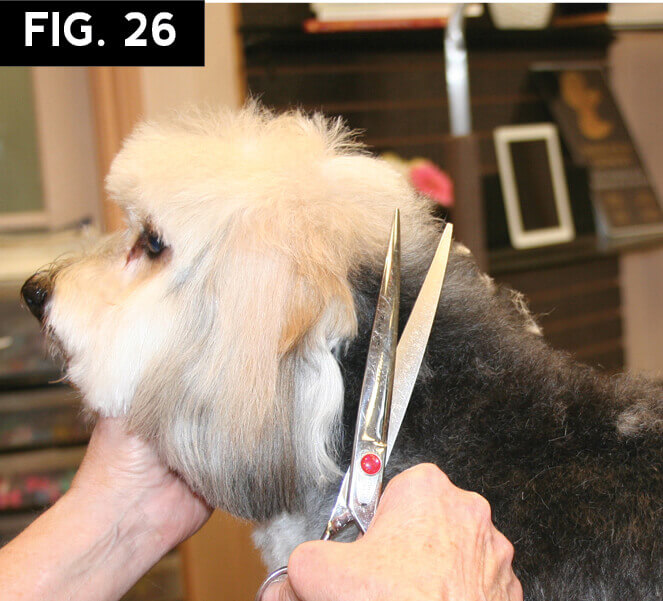

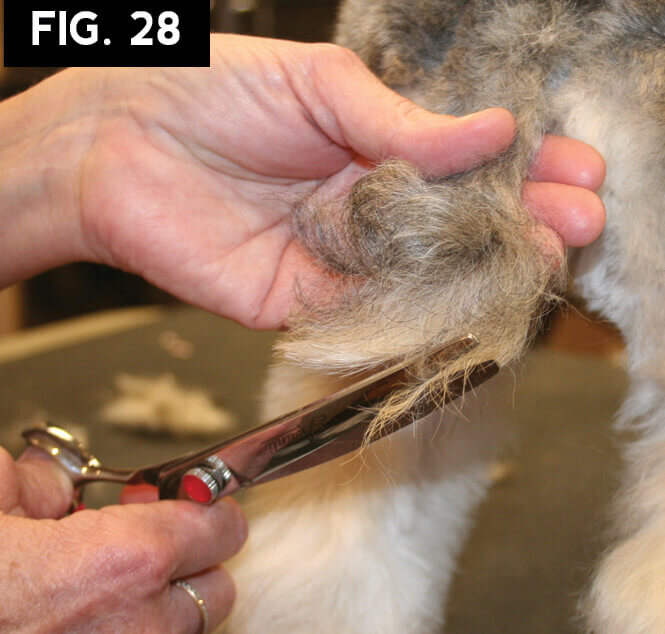
Fig.28) Tidy the tail into a pom pom or flag shape.

A big chunk of our Bread & Butter client list consists of Yorki-Poos, Cock-a-Poos, Hav-a-Poos etc. The coats are usually somewhere in between soft and curly and there is not a determined profile haircut. The most important thing to remember is communication with your client. Take the time at your initial consultation to determine the client’s wishes and the pet’s needs. Use your expertise to make coat length recommendations that will suit all of you! ✂