By Michell Evans
“I am starting a job at a new place. At the old shop, we crate dried almost every dog. At my new job, I have to dry dogs by hand. They use high velocity blowers and stand dryers. I have never used a stand dryer before. What do I need to know? “
– Kelly P
Well Kelly, I am happy to hear that you are going to learn some new things! I think you will find that these methods of drying will help you achieve a faster, more beautiful result, which could equal more pay and more tips!
Remember to be patient with yourself and the dog. Stand dryers can be tedious to master and high velocity dryers are scary, especially around the head, when you are not accustomed to the dog handling skills required. At first, these methods may actually add time to your grooming service but they will most likely save you time in the long run.
When you comb and brush a coat that has dried curly, you simply keep pulling out new curls with each stoke. In this case, you find yourself re-trimming the coat each time you comb or brush. Even when you have scissored or clippered it smooth multiple times, it will not stay looking good for long. On a coat that needs de-shedding and/or a finish that lies flat, you will find that drying by hand reduces manual de-shedding, flipping curls, and “bed-head” areas.
If you are choosing to use the forced-air-only method of drying, I suggest the following: Use eye and ear protection. Also protect the dog’s ears by using cotton in the ears or a Happy Hoodie, or both. Avoid the dog’s eyes, ears, nose, rectum, mouth, and genitals with the nozzle.
The dog must be forced-air-dried as soon as it comes out of the bathtub (also known as high-velocity-drying or HV drying). Keep one hand on the dog and one hand holding the nozzle pointed at the dog’s skin at all times. Some forced-air dryers get hot. If you hold it in one place on the dog’s skin for too long it may burn the skin. Keep it moving at a steady pace but avoid rapid whipping motions. After you have it dry or mostly dry, it must be brushed out thoroughly to remove all mats and debris and to dry and separate each hair. Then it can be blown out with the forced-air dryer again. With the final blow-out, you can inspect your work and make sure that your coat is perfect. Perfect means that each hair is clean, straight, dry, and individual.
Avoid brushing the coat while forced-air-drying. If you have a brush in one hand and a nozzle in the other hand, there is very little assistance for the dog. Also, you run the risk of brush-burn. When the air from the HV dryer hits the back of the brush it may thrust the bristles of the brush into the dog’s skin. It is safer to use a “blow, then brush, then blow” procedure.
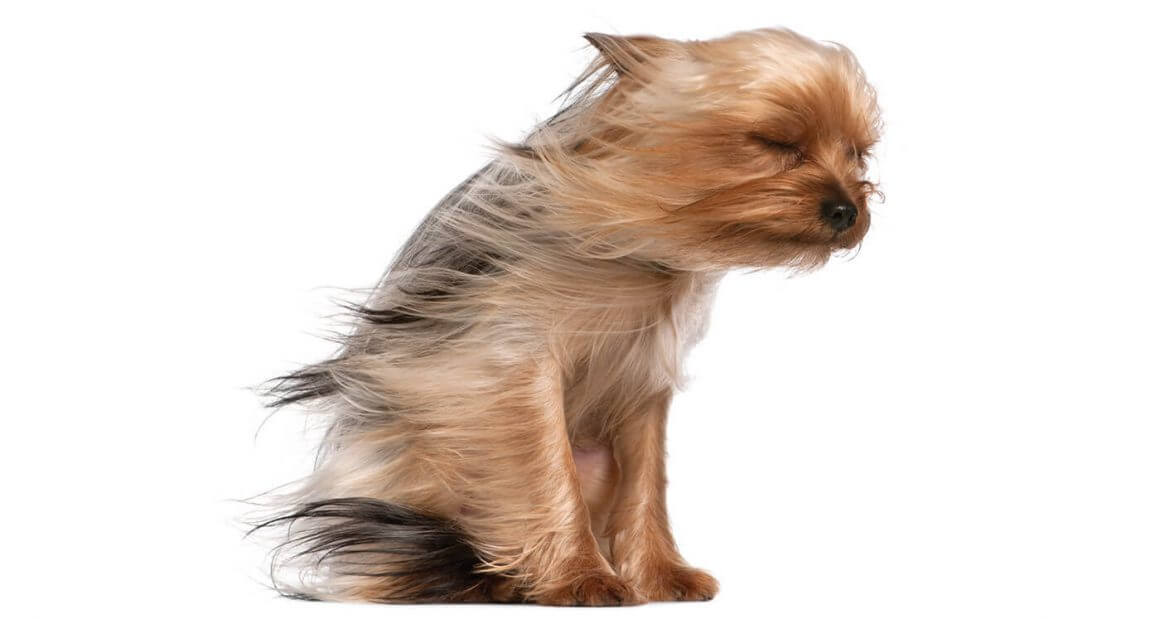
For curly coats, keep the nozzle perpendicular to the dog’s body and concentrate on forcing the coat straight. Keep the nozzle closer to the skin for short coat and farther away for longer coat. A hissing sound is a good indication that you are producing enough force to stretch and straighten the coat. You can choose any nozzle for this but it must be perpendicular to the skin at all times. Extra-long coat is better dried on a low velocity, as the ends might whip into undesirable tangles.
Focus on one area at a time. Avoid towel drying too much and prematurely blowing areas. You want the areas that you are not purposefully blowing to remain wet. This will help prevent areas that you are not focused on from inadvertently drying in curls. This applies to fluff drying with a stand dryer as well.
If you want the coat to lie flat, use a rectangular nozzle. As you pass over the skin, tilt the nozzle to nearly parallel to the skin in smoothing flattening motions, with the lay of the coat.
If you choose to finish your coat preparation with a stand dryer, instead of the all HV method, go ahead and blow out the coat until it is dry or nearly dry with the HV Dryer. Instead of brushing and then blowing out the coat again, simply fluff and dry the coat with a stand dryer.
Keep the stand dryer to the right of you (left if you are left-handed) with the nozzle pointing toward the dog from your torso at all times. Adjust the height of the dryer so that when the barrel is parallel to the floor it will blow out of your sternum. Whatever direction your torso is facing is the direction the air should be blowing. You can now work around the flow of air by reaching over and under the barrel. In this position you always have it conveniently within reach to adjust and re-adjust and your aim will be excellent.
Fluff drying is best achieved with a slicker brush. Brush only where the air is blowing on the coat and avoid blowing parts of the body in which you are not concentrating. Use medium to high heat and be careful not to let the warm air blow on one spot for too long. Brush out the tips of the coat, as well as any mats, in the direction that the coat grows, with repetitious light, short strokes. After the ends of the coat are free and the mats are removed, reverse your stroke and concentrate on stretching the coat straight with the assistance of the warm air.
In both methods, check your work with a comb to insure that you have achieved a coat that has each hair clean, straight, dry, and individual.
When the hair is prepared in this way, your finish will take a fraction of the time because you are not wasting time re-grooming the dog in a quest for the plush finish that you will never achieve.
Good luck in your new job! ✂
I am a multi-Best-In-Show and Best-All-Around groomer, as well as the recipient of many Barkleigh Honors Awards. I am a Silver and Gold medalist for GroomTeam USA and the winner of Show Dog Groomer of the Year. I am an educator for Andis Clipper Company and have been teaching as The Grooming Tutor since 2000. And I groom to make a living, just like you. Please send questions to [email protected]