By Kathy Rose
Our Bread & Butter client list includes an abundance of thickly double-coated breeds such as the Golden Retriever, Keeshond, American Eskimo dog, and the occasional Long Coated Akita, just to name a few. Most of these breeds are shown with a natural look with minimal scissoring. This can prove to be a challenge for the average pet owner who may desire a tidier, cleaner-appearing dog adorned by coat furnishings that are less likely to attract every sticker, twig, and leaf in the yard.

Any profusely double-coated breed that is not being shown can be toned down to a smarter coif by following the same techniques. This complete “tidy all over” trim was done with Katana Super Blenders and Blue Breeze™ shorter blenders, made by Geib Buttercut.
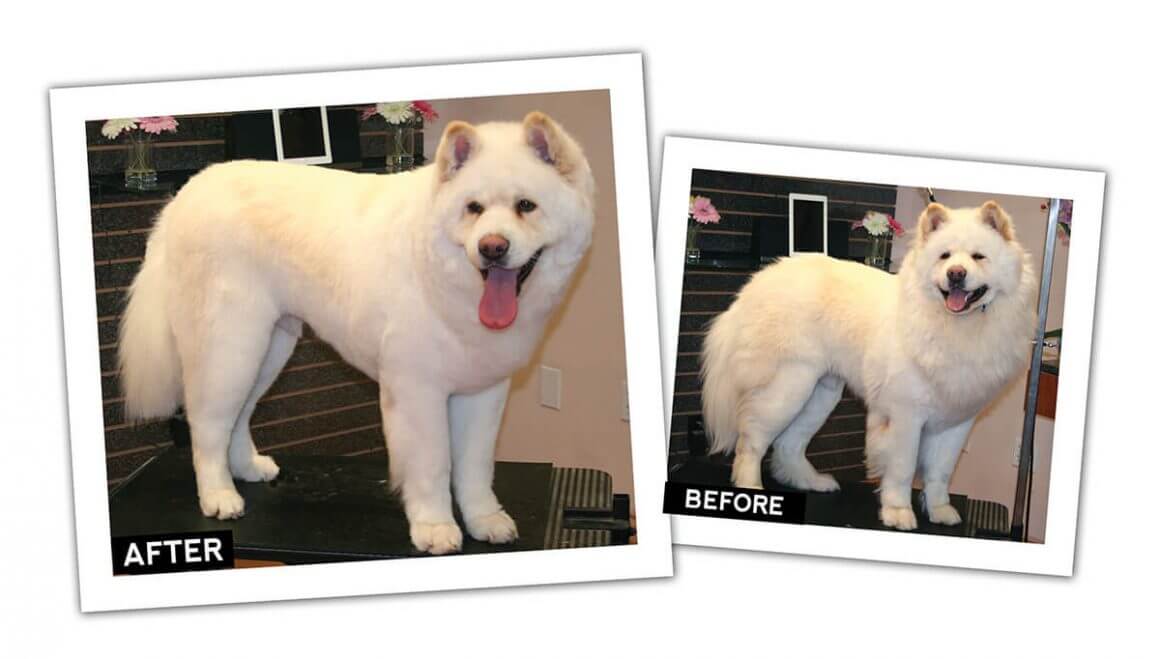
For this segment of Bread & Butter Grooming, our model is the large, sweet, and abundantly coated Woolie Akita. I should first make this point about the Akita: the correct Akita coat is void of any indication of feathering or ruff, according to the AKC breed standard. There is, however, a recessive gene that when present in both parents may produce the long coated or “Woolie” Akita. This longer coat is considered a fault in the AKC conformation ring and LCs are rarely seen in the show arena. Until recently, this variety has not been a regular among our Bread & Butter clients. The amiable dispositions, lion-like appearance, and definite “cuteness” factor are increasing their popularity.
Preparing the Thick Double Coat

These profuse double coats can really muck up the drying room! I recommend trying a few tips during the bathing process to help speed up the procedure and cut down on the volume of coat blowing around the wet room.
Fig. 1: Remove the excess, dead undercoat before beginning the bathing procedures. With one hand, gently grasp the loose skin to hold it in place and stretch out folds. With the other hand, use a FURminator or coarse undercoat stripping knife to remove excess dead undercoat. It is important to evaluate the skin condition before implementing this procedure. Always card following the coat growth direction and secure loose skin.
Fig. 2: Use a high-pressure nozzle such as the Sav-Ur-Fur sprayer nozzle for undercoat removal. While holding the nozzle fairly close to the skin, work the shampoo and spray into the coat, pushing the dead undercoat out.
Fig. 3: When the coat is fully lathered with shampoo and conditioner, use a high-velocity blower pointing downward to blow out dead undercoat into the tub. You need not dry the dog; just use the velocity to blow some of the excess coat out before the final rinse. The wet hair is heavier and less likely to blow all over the salon. I recommend only doing this in an enclosed tub and not near the dog’s head so shampoo-soaked hair can be contained and not blown into the dog’s face.
These steps will greatly reduce the amount of dead coat being blown around the salon when you begin the actual drying procedure. Finish the bathing process with a thorough rinse.
Use a high-velocity dryer to complete the drying process.
Styling Procedures
Fig. 4: Starting at the neck, use super blenders to top thin the mane, neck, and chest. When top thinning, it is important to keep the blenders on top of the coat and only go with or against the coat growth direction—not across it.
Fig. 5: Following the coat growth direction, top thin downward following the spring of rib.
In an upward motion, follow the bottom of the rib cage and trim the flanks. Angling your blenders so that your wrist is slightly under the dog will help you to achieve a rounded rib cage.
Fig. 6: Lift the foreleg and trim the underline from between the front legs to the tuck up area.
Changing direction, now work forward from the tuck up, following the natural underline between the front legs and up to the chest.
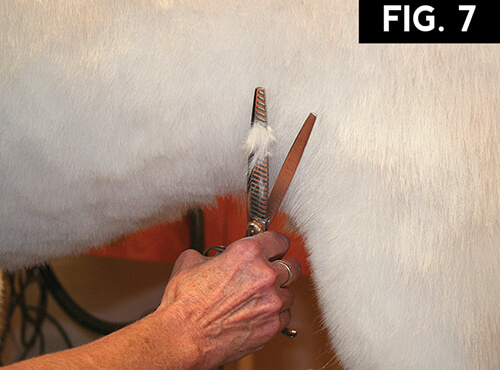
Fig. 7: Trim the tuck-up to follow the natural underline of the dog.
Top-thin the coat on the middle and upper thighs and between the rear legs.
For particularly bushy areas, you can “bulk-thin” by placing the blenders deep under the coat against coat growth direction (not across) and bulk thin some of the excess. A word of caution: blenders remove a lot of coat, so make only one snip then comb.
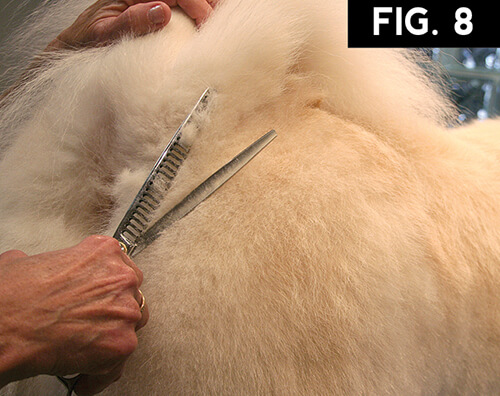
Fig. 8: Lift the tail up and over the back, and round the hips, blending onto the back.

With your blenders either up or down, never sideways, trim the outside of the rear legs and the stray hairs on the inside of the rear legs. Trim the hocks so they are parallel to each other and perpendicular to the table.
Fig. 9: With your blenders pointing upward, blend the front leg coat to the elbow.
Fig. 10: Lift the front leg and trim the feathering on the back of the front legs.
Using smaller blenders or thinning shears, trim the tufts between the toes to form compact, round feet.
Fig. 11: Hold the ear in place and trim the bushy feathers on the inside of the ear. Blend the entire ear.
Fig. 12: Lift the tail straight and trim the untidy hair on the tail furnishings.
Finish up with a coat polish or finishing spray, then brush with a bristle brush. This will tame the static and fly always. Keep in mind that this trim style is for pet dogs and could spell disqualification for a breed currently showing. Conversation and a thorough evaluation of the pet will ensure you are meeting your clients’ expectations, and your Bread & Butter clients will thank you for assisting them in the reduction of hairballs throughout the house and presenting them a tidy family member!
