By Dawn Omboy
I am amazed at the things people will throw away. One such thing was a perfectly good two-year-old Pomeranian. Cupcake had been a client’s dog, and the client asked me to re-home her before moving to New York. “Sure”, I replied. “No problem. Drop her off.” I kept her at the salon, and we all fell in love with her. I interviewed people for three weeks and seemed to find something wrong with everyone who wanted her. I took Cupcake home with me just to spend the night, since it was Thanksgiving and everyone deserved to be somewhere and have something to be thankful for. That was six years ago.

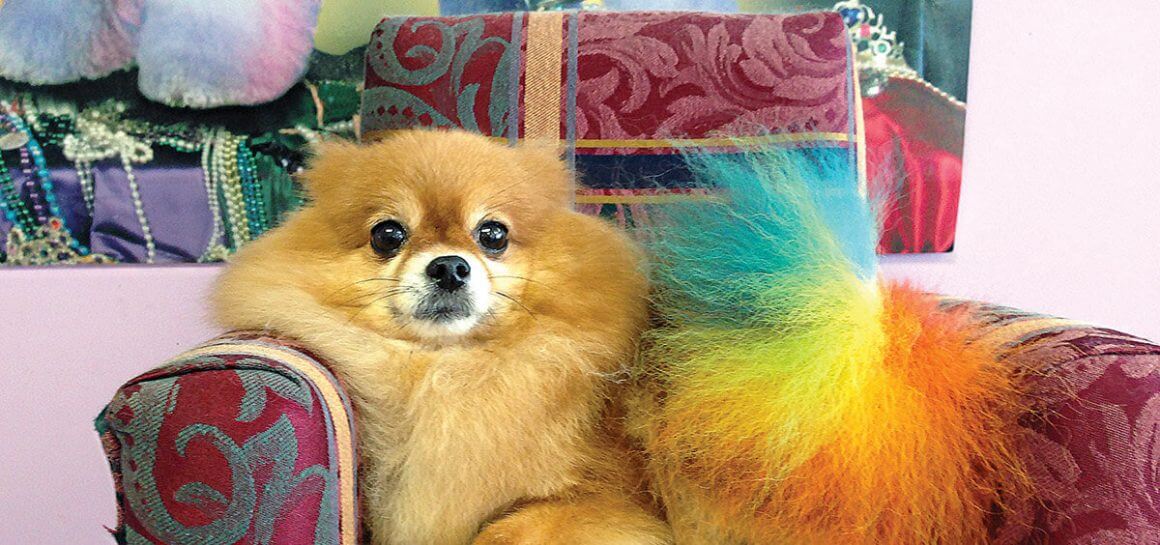
Cupcake is such a cute little dog. She is big on personality, and of course she loves attention, be it spending time cuddling on the couch or being pampered on the grooming table. For me, this is another perfect canine color candidate. I am going to show you how to get this beautiful colorful tail.

Step 1. I cover my table top with a “Fit to be Dried” waterproof cover. I like the white one just for the additional artwork. I can see the product on the white cloth, and it is never on my table top. Set out the color products you will be using (in the order you want to apply them), enough brushes to apply them with, plenty of hair clips, some foil (optional), and a flat iron.
Step 2. I use hair clips to hold hair out of the way so I can begin to color each section one at a time.
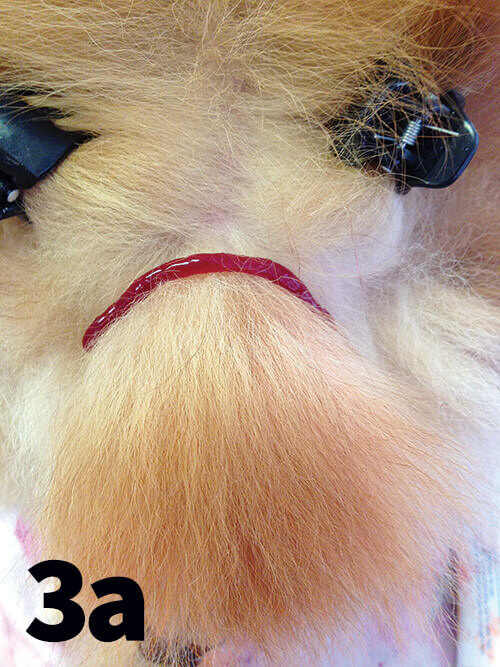
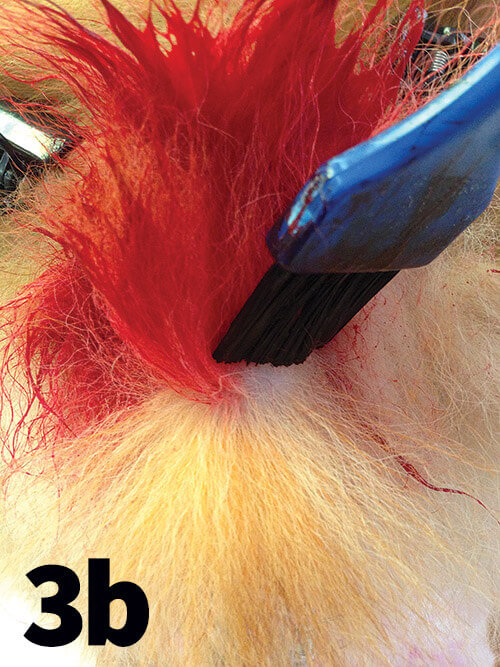
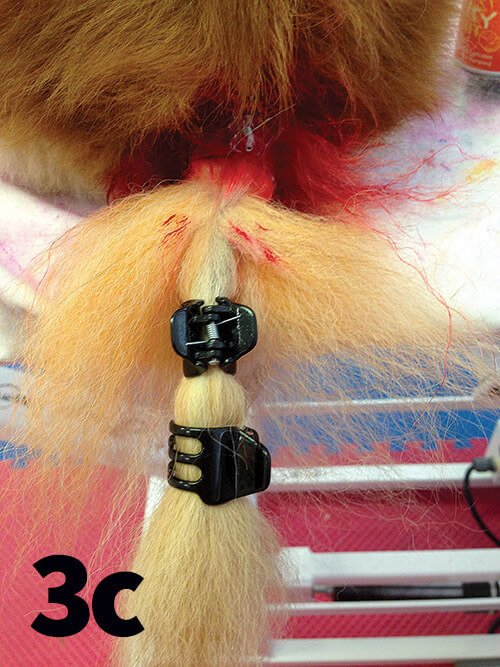
Step 3. I was doing this quick, so next I applied a thin line of color product on the first section at the base of the tail (Photo 3a). Next, I brushed in the color much the same way you would line brush, making sure to coat all the hairs in that section (Photo 3b). Using a hair clip large enough to fit comfortably around the tail, clip up the section you just finished before releasing the next (Photo 3c).
Step 4. Follow step three for each additional section. Make sure to use a different brush for each color used. If you like, you can use just a bit of foil to wrap each section. Sometimes I even use a bit of paper towel wrapped around the colored hair just to keep the color separated. Placing a soft paper towel under the tail will also help keep unwanted color off the dog’s rear during the dying process.

Step 5. As a shortcut to processing time, I placed foil over the hair (not the tail itself) and heated it by pressing it with my flat iron. This method will quickly set most hair color products, cutting your processing time down to just a few minutes. This tail was done with Pet Esthe and Avatar dyes. I rinsed the tail only five minutes after I heat set it. If you use this method, be very careful, as the foil heats very quickly and can burn if it is in contact with the skin of the dog.
Step 6. Rinse the tail in cool (not cold) water until the water runs clear. Add some conditioner, then dry it, tidy up your dog, and enjoy your work! A colorful tail from the creative side is sure to bring many smiles. I know it works for me!
Visit Dawn at www.queenofcolor.com for more pictures and tips on creative supplies.
Making the world more colorful, one dog at a time…